A monitor arm is a good fit only when four things match: your monitor’s mounting pattern, the arm’s supported weight range, your desk’s mounting requirements, and the movement your workspace actually needs. If any one of those checks fails, do not order yet. A different arm, a manufacturer-approved adapter, a sturdier desk, or simply keeping the original stand may be the better answer.
Do not treat monitor arms as universal. Screen size is only a rough starting point. The display’s bare weight, VESA hole pattern, panel shape, desk thickness, edge clearance, and cable path can all matter more than the number printed on the box.
Key Takeaways
- Match the monitor’s VESA pattern and bare-display weight to the exact arm model, not just its advertised screen size.
- A spring-based arm needs the monitor to fall within both its minimum and maximum supported weight.
- Check the desk where the arm will mount, including thickness, edge shape, underside clearance, and construction.
- Measure the arm’s travel and cable path before buying. Extra reach is useful only if it fits the desk, wall, and monitor layout.
Check four compatibility points before ordering
Make a short specification list before comparing arms. Record the monitor model, VESA pattern, weight without its original stand, screen size and shape, desk thickness at the intended mount point, and the space behind and beside the monitor. Then compare every item with the selected arm’s manual or product page.
This approach prevents the most common mismatch: selecting an arm because the monitor is within an advertised size limit while overlooking its weight, mounting pattern, or desk. Manufacturer listings vary widely. For example, the VIVO STAND-V001 lists 75 x 75 mm and 100 x 100 mm VESA support, a 22-pound maximum capacity, and a 3.25-inch maximum desk thickness. Those figures describe that arm, not all single-monitor arms.
Use this stop rule: pause the purchase if you cannot verify one of the four points. Guessing is especially unhelpful for a display near an arm’s load limit or a desk with a thin, hollow, damaged, glass, or unusually shaped edge.
Start with the monitor, not the arm
Confirm the VESA mounting pattern
Look for a VESA mounting interface in the monitor’s manual or technical specifications. It describes the pattern of threaded mounting holes on the back of the display. Both the monitor and arm need compatible patterns. As a concrete example, Dell lists a 100 x 100 mm VESA mounting interface for its UltraSharp U2723QE, while the VIVO arm above accepts 75 x 75 mm and 100 x 100 mm patterns.
If the monitor has no listed VESA interface, do not assume a generic adapter will work. First check whether the monitor maker offers an adapter specifically for that model. Then verify the adapter’s supported display weight, the arm’s mounting plate, the available screw depth, and any spacer or hardware requirements in both manuals. A plate that physically reaches the back of a monitor is not enough if the documentation does not approve that configuration.
Use the weight without the original stand
Monitor specifications can list several weights. The one relevant to an arm is usually the display after its desk stand is removed, plus any permanent mounting adapter or accessories that the arm manual says must be included. Do not substitute shipping weight, and do not assume the stand-included weight is correct.
The difference can be substantial even for one model. Dell lists the U2723QE at 9.9 pounds without its stand, 14.6 pounds with its stand, and 21.01 pounds shipping weight on its specification page. That is why the monitor manual or manufacturer page is more useful than a retailer’s headline weight. If no bare-display weight is published, get a reliable measurement before choosing a counterbalanced arm.
Match the arm mechanism to the load and use case
A gas-spring or pneumatic arm is designed to counterbalance a monitor within a stated range. That makes frequent height and distance changes convenient, but the lower limit matters as much as the upper limit. A display below the range may rise or resist staying down, while a display above it may not stay where you place it. Use the selected model’s adjustment instructions rather than forcing a tension setting.
For instance, VIVO lists its STAND-V101G1 pneumatic arm for displays from 2.2 to 33 pounds and says its pneumatic mechanism counterbalances monitor weight. It also states separate limits for regular and ultrawide displays. This is a useful illustration of why an arm’s type or headline screen size cannot establish compatibility by itself.
Mechanical-spring arms use a different balancing mechanism, but they still need to be evaluated against their own published load range and adjustment instructions. A static arm or pole mount is a sensible option when you mainly want the monitor off the desk and do not need smooth, frequent repositioning. The VIVO STAND-V001, for example, uses a center pole with manually adjustable screen height rather than a stated counterbalance range.
Screen size still matters, particularly with wide, curved, or unusually deep displays. A larger panel needs more clearance when it swivels, and a model may impose separate curved-screen or ultrawide limits. For a dual setup, check each monitor’s bare weight and mounting pattern separately. For a crossbar, also confirm the rail width, the stated per-screen capacity, and whether the layout gives the independent adjustment you need.
Prove the desk can take the mount
Clamp and grommet mounts are not interchangeable. A clamp grips a usable desk edge, while a grommet mount passes through an existing hole or a hole approved by the desk and arm makers. The chosen arm’s requirements control the decision.
The VIVO STAND-V101G1 shows why this check needs to be specific: its listing gives a compatible desktop thickness of 0.4 to 3.3 inches for its C-clamp and 0.4 to 1.9 inches for its grommet mount. The same page lists both mounting options, but their allowable thicknesses differ. Measure at the precise location where the hardware will sit, not at a thicker part of the desktop.
Before buying, inspect these details:
- Top and underside: Confirm there is enough flat surface for the clamp or grommet plate, with no drawer rail, cable tray, lip, crossbar, or frame blocking the underside.
- Desk construction: Check the desk documentation and its condition. A brand name or a photo of a similar desk does not establish that the edge is suitable for a monitor arm.
- Mount location: Keep the arm’s base clear of weak edges, seams, and unsupported overhangs unless the arm and desk documentation expressly allow that placement.
- Hardware: Some arm packages include installation hardware, but that does not establish that every supplied screw fits every monitor. Use only the hardware and configuration verified by the relevant manuals.
Do not turn one product’s mounting directions into universal installation instructions. Follow the chosen arm’s manual, and stop if the desk flexes, the clamp cannot sit flat, or the required clearance is not available.
Plan motion, monitor layout, and cables
Measure the workspace in three dimensions. Note the distance from the desk edge to the wall, the available depth behind the keyboard, the monitor’s width, and anything the arm could strike as it pivots. Then compare those measurements with the arm’s stated reach, height range, and rotation limits.
Published movement ranges differ. The VIVO static arm lists 16 inches of maximum extension, while its pneumatic model lists 23 inches of maximum extension and a center-of-screen height range of 10.5 to 23.5 inches. These examples are not purchase recommendations. They show why a deep desk, shallow desk, corner setup, or wall-adjacent setup can call for very different geometry.
For a single monitor, decide whether the useful position is centered, offset for a laptop, or pulled forward for close work. For two monitors, check their full swing paths, not just how they look when stationary. A crossbar can create a tidy aligned layout, but it is still necessary to verify that each display has enough rail space, clearance, and supported load.
Cable routing is part of fit. An arm may include channels or clips, but display, power, USB, and network cables need enough slack to reach every intended position without tugging on ports. With the monitor connected, move it slowly through its full intended range before relying on cable clips. If a cable pulls tight, reroute it or reduce the movement range rather than treating tension on the port as normal.
Set up and troubleshoot without forcing the hardware
After mounting the selected arm according to its manual, move the display through its intended height, extension, tilt, swivel, and rotation range. Position it where you can read it with a relaxed head and neck while keeping the keyboard and mouse comfortably reachable. An arm can make adjustment easier, but it does not automatically make a workstation ergonomic.
Use the manual’s tension procedure only after confirming the display’s correct mounted weight. Then test normal tasks such as typing, video calls, or side-by-side work. This helps reveal a monitor that is technically compatible but has the wrong reach or movement range for the desk.
Common problems usually point back to the original checks:
- The monitor rises, sinks, or drifts: Recheck the bare-display weight against the arm’s stated range and follow the model-specific tension instructions.
- The screen tilts forward or feels unstable: Verify the VESA plate, screws, adapter, panel shape, and stated tilt limits. Stop using the setup if the hardware does not hold securely.
- The clamp shifts or the desk flexes: Remove the load and reassess the desk, mount type, and approved installation location before continuing.
- The monitor hits a wall, another screen, or a shelf: Reassess base placement and full pivot paths. More extension is not automatically more usable.
- Cables pull during movement: Leave a gentle service loop and test every intended position again.
When not to buy a monitor arm yet
Wait when the monitor’s mounting solution is uncertain, its correct weight is unknown, the display falls outside an arm’s range, or the desk cannot safely accommodate the selected mount. Also reconsider an arm if the original stand already provides the needed height and adjustment, or if the desk layout leaves no safe path for the arm to move.
The best choice is the arm that fits the whole system, not the one with the longest feature list. Verify the monitor, arm, desk, and workspace as one setup, then use the chosen model’s documentation for installation and adjustment.
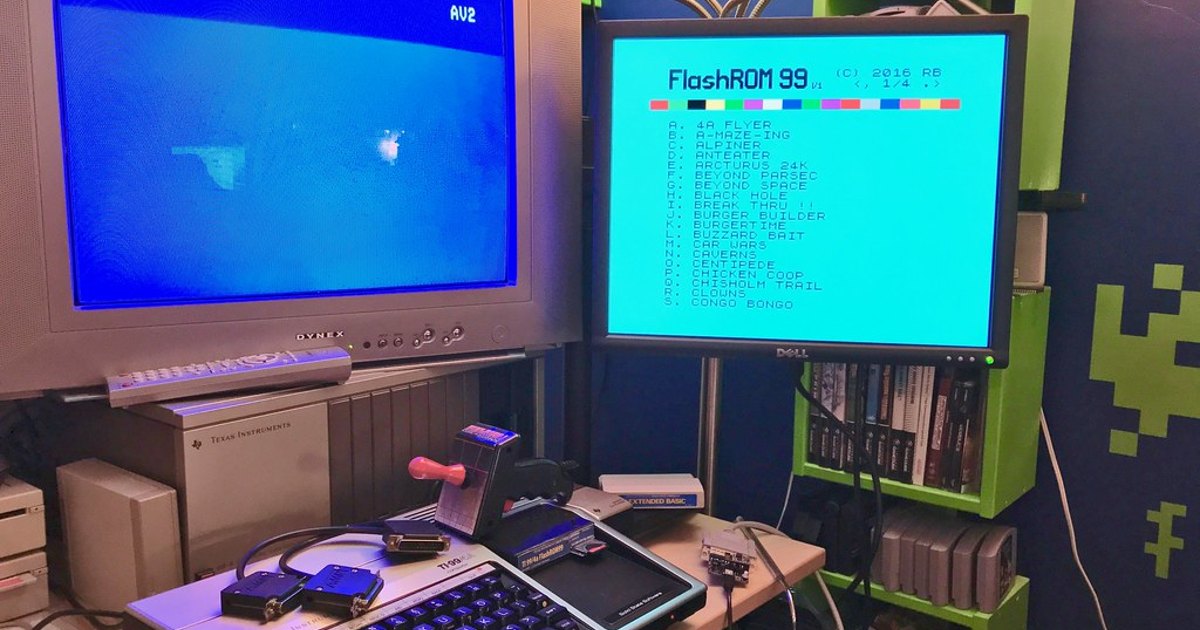
Photo: monitor arm for the TI’s LCD by blakespot, licensed under CC BY 2.0. Resized and cropped. Illustrative stock photo; no product testing is implied.