To clean an office chair without damaging it, remove loose dust first, use the least aggressive cleaner that the chair’s care label allows, and keep water out of the mechanism and foam. Vacuum or brush fabric and mesh, wipe leather, vinyl, plastic, and metal with a barely damp cloth, then let every surface dry before sitting again. Treat stains promptly rather than soaking the whole chair.
The one detail that changes the method is the upholstery. A chair’s care tag, product page, or manual takes priority over a general guide: even Herman Miller notes that individual products have unique care and maintenance instructions (Herman Miller). When you cannot identify the material or cleaner, begin with dry removal and a hidden-spot test.
Key Takeaways
- Start by vacuuming or brushing away dust, crumbs, and hair; wet cleaning over grit can make a mess harder to remove.
- Use minimal moisture, work in small areas, and keep liquid away from seams, foam, controls, and the chair’s underside.
- Fabric, mesh, leather, and vinyl may have different approved cleaners. Follow the manufacturer’s instructions for the exact material.
- Cleaning is usually enough for routine care. If disinfection is needed, clean first and use a product whose label allows the intended surface and use site.
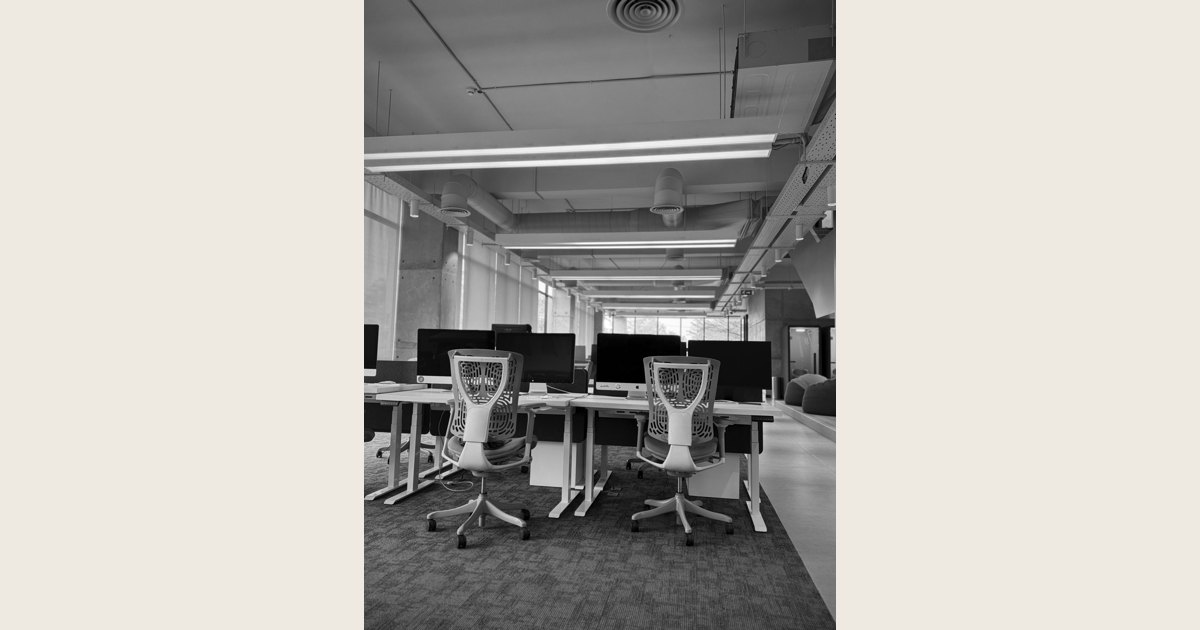
Cover image credit: “A modern office space featuring several white desks with computer monitors and ergonomic chairs,” by Rashed Hossain via the WordPress Photo Directory, CC0 1.0. Resized and padded. Illustrative stock photo; no product testing is implied.
Gather supplies and identify the chair material
You do not need a special kit for basic chair cleaning. Set out:
- A vacuum with a soft brush or upholstery attachment
- Two to three clean, lint-free cloths
- A soft brush or clean toothbrush for seams and wheels
- A small bowl of water and a mild soap only if the chair’s instructions permit it
- Tweezers for hair in casters
- A towel to protect the floor if you will tip the chair
Look under the seat, beneath the cushion, or in the manual for a fabric code or care label. If the chair has more than one material—such as mesh back, fabric seat, plastic arms, and polyurethane wheels—clean each area as its own surface. Do not assume a cleaner that is safe for an arm pad is safe for the seat fabric.
Before applying any liquid, test it on a small hidden area and let it dry. Stop if the surface changes color, feels tacky, sheds, or develops a water ring. That small pause is much easier than repairing a visible seat panel.
Step 1: Remove loose dirt before wet cleaning
By the end of this step, the chair should be free of surface dust, crumbs, and most pet hair. Start with the upholstery, then work down toward the frame and wheels so debris does not fall onto areas you have already wiped.
- Use the vacuum’s soft brush attachment on a fabric seat and back. Use short, gentle passes along seams and creases.
- For mesh, vacuum at low suction or use a soft brush. Support the mesh with your free hand rather than pulling it taut.
- Brush hair and dust out of stitching, under arm pads, around adjustment levers, and at the junction of the back and seat.
- Wipe plastic, painted metal, and armrest surfaces with a dry microfiber cloth first.
This dry pass keeps the next steps focused on remaining marks instead of moving crumbs and hair around with a damp cloth.
Step 2: Clean fabric upholstery carefully
For a fabric office chair, clean one small section at a time and avoid saturating the cushion. Too much moisture can reach padding or adhesive, lengthening drying time and leaving an odor or ring.
- Blot a fresh spill with a dry cloth. Press and lift; do not scrub it deeper into the weave.
- If the manufacturer permits a soap-and-water solution, dampen—not soak—a cloth. Wring it out until it no longer drips.
- Dab the stained area from the outside toward the center. Use a second cloth lightly dampened with plain water to remove any permitted cleaner residue.
- Blot dry with a towel and leave the chair in a well-ventilated room until fully dry.
Skip improvised stain removers, bleach, and upholstery sprays unless the chair maker or fabric maker specifically approves them. A useful example of why the label matters: Ultrafabrics permits soap and water for its own polyurethane upholstery and lists certain disinfectants, but also warns against soaking the material and says other products can degrade performance or affect warranty coverage (Ultrafabrics). That guidance applies to Ultrafabrics materials, not every office-chair fabric.
For dried food, makeup, or ink, resist the urge to keep escalating cleaners. Check the chair’s material guide for the exact stain type. If no guide is available, a professional upholstery cleaner is the lower-risk choice for a stain in a prominent area.
Step 3: Clean mesh without clogging or stretching it
Mesh chairs collect dust in the weave but usually need less moisture than a padded fabric seat. Vacuuming or brushing is the first-line approach.
For marks that remain, wipe with a cloth barely dampened with water or the cleaner approved for that model. Work along the weave instead of pushing hard through it. Then wipe once with a separate water-dampened cloth if the approved cleaner requires rinsing, and allow the back to air-dry.
Avoid flooding mesh, using a stiff brush, or catching the weave with a sharp tool. Do not use a hair dryer or heat gun to speed drying; heat and tension can be a poor combination for synthetic mesh and its frame. If the mesh looks stretched, frayed, or detached, cleaning will not restore its support—consult the chair manufacturer about replacement parts or service.
Step 4: Wipe leather, vinyl, plastic, and metal surfaces
Leather, faux leather, vinyl, plastic, and metal are often wiped surfaces, but they are not interchangeable. Genuine leather may have a finish with its own care requirements, while vinyl and polyurethane upholstery can react differently to cleaners.
Use this conservative sequence when the chair’s instructions allow water-based cleaning:
- Wipe off dust with a dry cloth.
- Use a second cloth that is lightly dampened with water; add mild soap only when the care instructions permit it.
- Wipe the surface gently, paying attention to hand oils on arm pads and the front edge of the seat.
- Wipe away permitted cleaner residue with a fresh water-dampened cloth, then dry with a clean towel.
Do not saturate seams, perforations, or the space around control levers. Avoid abrasives, strong solvents, and leather conditioners unless the maker calls for a specific product. If your chair is labeled as Ultrafabrics polyurethane, its published guidance says to rinse cleaning-solution residue with clean water and air-dry; it also cautions that residue can affect surrounding thread, seams, and foam (Ultrafabrics).
Step 5: Clear hair and grit from casters and the base
Clean wheels roll better only when hair and grit are removed; do not try to wash debris farther into the wheel housing. Put a towel under the chair, then carefully tip it onto its side if you can do so without straining the chair or your back.
- Pull out visible hair with tweezers or cut it free with small scissors, keeping the blades away from the wheel material.
- Use a brush or vacuum to remove remaining dust from the caster stems, wheel gaps, and base.
- Wipe the plastic or metal base with a damp cloth and dry it immediately.
- Roll the chair slowly over a clean floor to check whether any debris remains.
If a caster is cracked, has a flat spot, or still will not roll after debris is cleared, replacement is more useful than adding a cleaner or lubricant. Match any replacement caster to the chair’s stem size and floor type.
When to disinfect an office chair
Routine cleaning is generally the sensible default. Disinfect only when there is a reason to do so, such as an illness in the household or a shared chair that needs a workplace-specific protocol. Focus on hard, frequently touched points—arm caps, adjustment levers, and a nonporous plastic or metal frame—unless the upholstery manufacturer expressly approves a disinfectant.
Clean first. Then choose an EPA-registered disinfectant whose label allows the material and intended use site. The EPA explains that a label’s directions state where a product may be used, how it must be applied, and its contact time; the surface must stay visibly wet for that full time (EPA). Never assume a disinfectant approved for a hard chair frame is safe for fabric, mesh, leather, or foam.
Use products exactly as labeled. The EPA notes that disinfectants are pesticides that can be harmful and advises users to read and understand the product’s precautionary language and safety information before use (EPA).
Common problems and safer fixes
| Problem | What to do | What to avoid |
|---|---|---|
| Water ring on fabric | Let it dry completely, then consult the fabric’s care instructions before attempting a broader, approved treatment. | Repeated spot-scrubbing or soaking the cushion. |
| Sticky armrest or vinyl | Wipe with a water-dampened cloth and dry; use only a manufacturer-approved cleaner if needed. | Solvents or abrasives that can strip the surface. |
| Lingering odor | Check that the chair is fully dry and improve airflow. If the odor persists, use the upholstery maker’s approved process or seek professional cleaning. | Masking odor with sprays on a damp cushion. |
| Hair-packed wheels | Remove hair manually, brush, and vacuum. | Pouring liquid into the caster housing. |
| Unknown upholstery | Use dry cleaning methods and locate the manual or manufacturer guidance. | Guessing with bleach, alcohol, or stain remover. |
A simple maintenance routine
A quick dry vacuum or wipe when you notice dust, followed by prompt spill cleanup, is more manageable than an occasional deep soak. The goal is not to make every chair material behave the same way. It is to remove loose soil, use the approved method for the actual upholstery, and keep the chair’s padding and moving parts dry.
When the care label is missing or a stain is valuable enough that a mistake would be costly, pause and get the model-specific instructions first. That is the most reliable way to clean an office chair without turning routine maintenance into damage.