A well-adjusted office chair fits you, your desk, and the task in front of you. Set the seat height first, then the seat depth and backrest so you can use the back support without pressure behind your knees. Finish with armrests and tilt, then check that the chair still works with the desk, keyboard, and monitor. Make one change at a time and use that position briefly before deciding what to adjust next.
There is no universal “correct” setting. The Canadian Centre for Occupational Health and Safety (CCOHS) says a chair becomes ergonomic only when it suits the worker’s size, workstation, and tasks. Its ergonomic-chair guidance is a useful reminder to adjust the whole setup rather than copy someone else’s chair position.
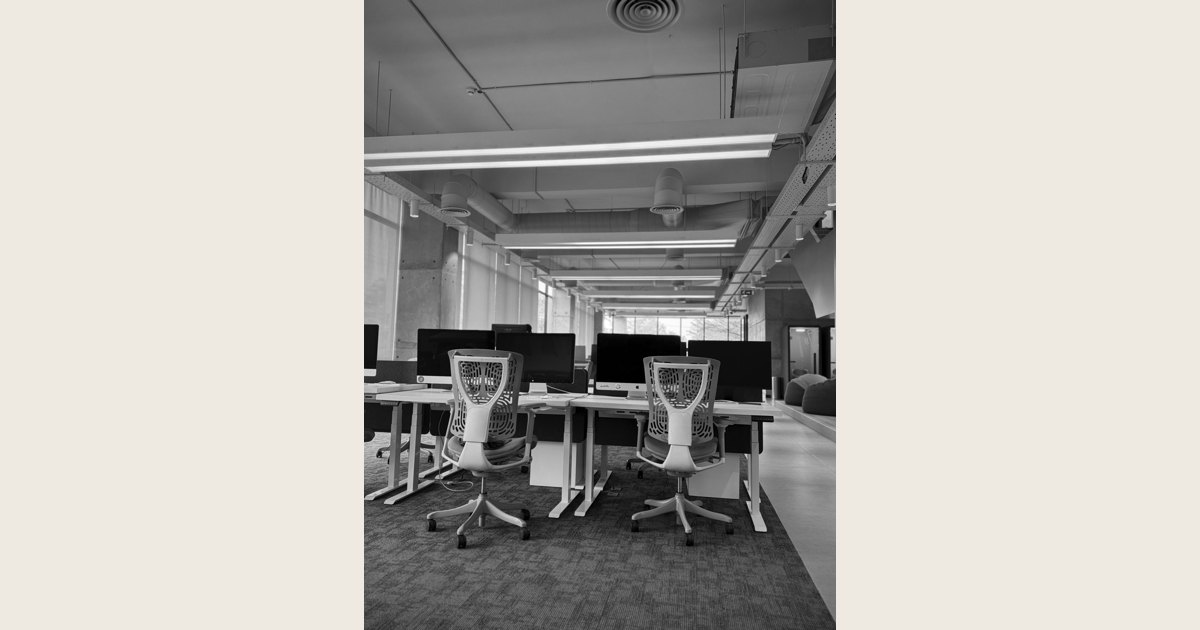
Cover image credit: Photo: A modern office space featuring several white desks with computer monitors and ergonomic chairs. by Rashed Hossain, source; CC0 1.0. Resized and padded. Illustrative stock photo; no product testing is implied.
Key takeaways
- Adjust the chair in order: height, seat depth, backrest, armrests, then tilt or recline.
- Set chair height for the desk or keyboard work you actually do. Use a footrest if raising the chair leaves your feet unsupported.
- Back support should meet your lower back without forcing you forward or digging in.
- Armrests are optional support, not a reason to sit too far from the desk.
- Recheck the setup after changing shoes, tasks, desk height, or monitor position.
Before you begin: identify the controls
Move the chair away from the desk and find its controls before sitting down. Common controls include a height lever, recline lock, tilt-tension knob, and adjustments for armrest height, width, or depth. Seat-depth and lumbar controls may be slides, paddles, or small levers.
Do not force a control that does not move. Directions and adjustment ranges differ by model, so check the manufacturer’s instructions if a control is unclear. A chair that is damaged, unstable, or slowly sinking needs attention before it is used for long work sessions.
Adjust your office chair in six steps
-
Set the seat height and support your feet. Stand in front of the chair and raise or lower the seat so its highest point is just below your kneecap. Then sit back with both feet flat on the floor. This is CCOHS’s starting method for chair adjustment.
Pull up to the desk and check the whole relationship, not just your feet:
- Your thighs should be supported without the front of the seat pressing into their underside.
- Your feet should rest firmly rather than dangle or tuck around the chair base.
- You should be able to bring your forearms to the keyboard or desk without hiking your shoulders.
If a fixed desk is too high, CCOHS advises matching your elbow height to the work surface. Raise the chair and use an adjustable footrest that supports both feet if needed; do not lower the chair solely to make your feet reach when that leaves your arms reaching upward to work. If your legs cannot fit beneath a fixed desk or move freely, the desk is too low for that chair-and-user combination. Change the arrangement rather than squeezing into the space.
A setup that feels fine in sneakers may need a quick recheck after you switch to thicker-soled shoes. Reset the chair for the desk first, then make sure both feet are supported. For a height-adjustable desk, see our guide to finding your standing desk height for the standing-work setup.
-
Adjust seat depth before fine-tuning the backrest. Sit all the way back so your pelvis is against the backrest. Check the space between the seat’s front edge and your calves. A practical target is about a clenched fist of clearance—roughly 2 inches (5 cm), according to CCOHS’s adjustment guidance.
If the seat slides, shorten it when the edge presses behind your knees; lengthen it if the seat stops well short of supporting your thighs. If it has no depth adjustment, sit back for back support but avoid a position where the front edge presses hard behind the knees. A too-deep seat may call for a different chair or a firm cushion sized for that chair, rather than an improvised stack that makes you perch forward.
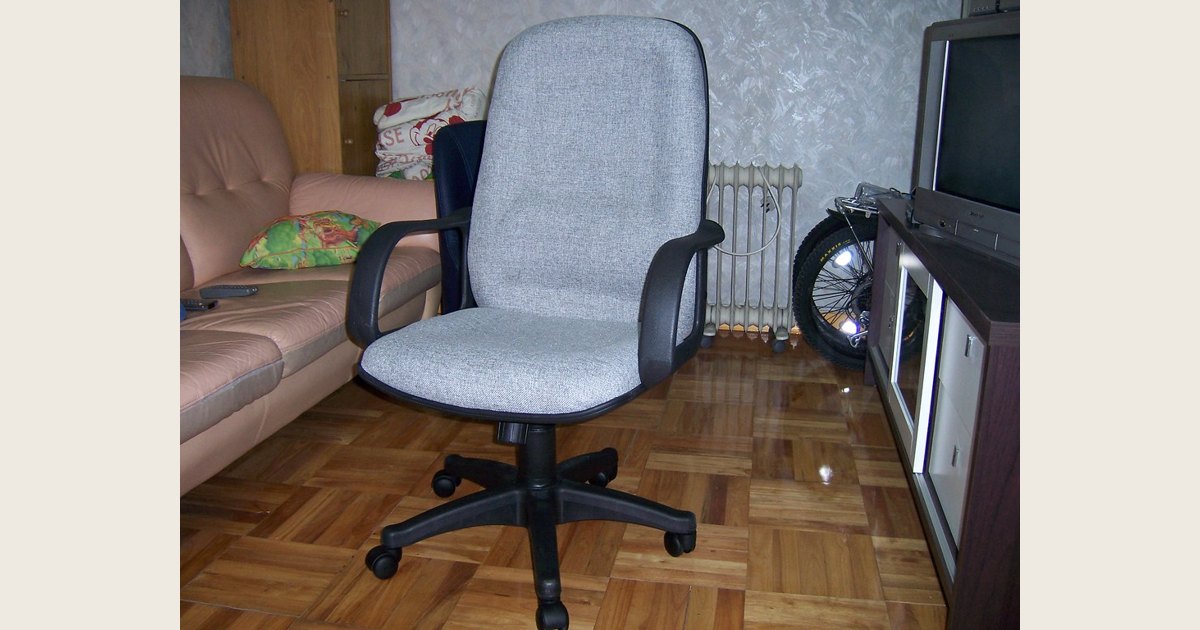
Illustrative gray office chair with armrests and a wheeled base. Chair controls and adjustment ranges vary by model, so use this guide to assess your own chair rather than copy a specific setting.
Photo: Office Chair by Kansir, https://www.flickr.com/photos/86499133@N00/74742772; https://creativecommons.org/licenses/by/2.0/. Resized and padded. Illustrative stock photo; no product testing is implied.
If you are also caring for the chair’s upholstery, use Desk and Day’s office-chair cleaning guide for material-specific cleaning advice.
-
Place the backrest and lumbar support at your lower back. With your hips back in the seat, move the backrest up, down, forward, or backward until its shaped support meets the hollow of your lower back. It should feel firm and present, not like a hard edge pushing you away from the backrest.
CCOHS recommends a backrest that adjusts vertically and front to back, provides firm lower-back support, and does not create pressure points that restrict circulation. It should support you without restricting movement. If your chair has a separate lumbar pad, make small changes and sit for a few minutes before deciding whether it helps. If no setting feels right, check seat depth again: a backrest can seem misplaced when the seat is too deep or you are sitting at its front edge.
-
Set armrests so they support without blocking the desk. Sit upright with your upper arms relaxed at your sides. Bend your elbows comfortably, then raise or lower the armrests until they just meet the undersides of your elbows. CCOHS uses this as a starting point for adjustable armrests.
The important test is what happens at the desk. Armrests should not stop you getting close enough to the keyboard, trap your arms, or make you shrug. Lower them, narrow them, or move them back when the chair allows. If fixed armrests still interfere, do not lean forward or sit too far away to accommodate them; remove them only if the manufacturer permits it, or consider a chair better suited to the desk.
-
Tune the tilt and recline for supported movement. Start with a stable upright or lightly reclined position in which the backrest supports you. If the chair has tilt tension, set it so reclining is neither unexpectedly loose nor so stiff that you must push hard. If it has a recline lock, try each position while your feet remain supported. Keep the setting that lets you work without sliding forward, bracing with your legs, or losing lower-back contact.
A forward seat tilt is optional. If you try it, make sure you do not slide toward the front of the chair or put extra weight through your feet. CCOHS similarly cautions that a forward-sloping seat needs enough friction to prevent sliding.
-
Recheck the chair against the desk, keyboard, and monitor. An office chair cannot fix a mismatch elsewhere in the workstation. Return to your normal task for several minutes and ask:
- Can I reach the keyboard and mouse with my shoulders relaxed?
- Are both feet supported, with enough space to move my legs?
- Am I using the backrest rather than hovering at the seat’s edge?
- Do the armrests clear the desk and keyboard area?
- Can I see the screen without craning my neck or leaning forward?
Address the chair and desk first, then set the display. If monitor position is the remaining problem, Desk and Day’s guide to choosing a monitor arm can help you assess whether an arm fits your screen and mounting setup. A monitor arm is not required for a comfortable setup, but it can add display-position adjustment when the desk allows it.
When your chair has limited adjustments
| Problem | Try first | If it remains a problem |
|---|---|---|
| Feet do not reach after matching chair height to the desk | Use a stable, adjustable footrest | Change the desk or chair arrangement rather than working with unsupported feet |
| Seat edge presses behind knees | Shorten the seat if adjustable; check that your knees have clearance while your back uses the backrest | Choose a shallower chair if the pressure remains |
| Armrests hit the desk | Lower, narrow, or move them back | Remove them only if allowed, or use a chair with better armrest adjustment |
| Lumbar support feels wrong | Recheck seat depth and backrest height | Use a different setting or a chair that fits your shape better |
| Recline feels unstable | Increase tilt tension or use a supported lock position | Check the manual or have a damaged mechanism assessed |
Keep adjusting as the day changes
Your best setting may shift between focused keyboard work, calls, reading, and other tasks. CCOHS advises workers to readjust their workstations during the day to relieve muscular tension and to include chances to stand, walk, or otherwise move. Stand to retrieve something, change your recline for a call, or reset the backrest after moving the chair.
If discomfort, tingling, numbness, or pain continues despite a sensible workstation adjustment, do not keep forcing the chair’s controls in search of a cure. This is general workstation information, not medical assessment. Consider discussing persistent symptoms with a qualified health professional and, where applicable, ask a workplace ergonomics or safety contact to review the actual setup.
A quick final check
Sit back with supported feet, clear space behind your knees, lower-back contact, relaxed shoulders, and armrests that do not block the desk. Work in that position briefly, then make one change at a time.
Common questions
Should your knees be exactly level with your hips?
Use the kneecap-height method, foot support, and pressure checks as a starting point rather than chasing one body angle. Your desk height, footwear, and the chair’s adjustment range all affect the final position. If the seat edge presses behind your knees or you cannot use the backrest, revisit seat depth and height.
What if the armrests prevent the chair from reaching the desk?
Lower, narrow, or move them back if the chair allows it. CCOHS cautions that armrests can be unhelpful when they prevent a person from sitting close enough to the desk and keyboard. For fixed armrests, follow the manufacturer’s instructions before removing anything; otherwise, a chair that fits the workstation better may be the practical solution.
When should you ask for more help?
If pain, tingling, or numbness continues after a reasonable setup adjustment, this article cannot diagnose the cause. Consider a qualified health professional and, in a workplace, an ergonomics or safety contact who can assess the setup and job demands.